Archive

January 2016

Browsing

Installing the black water tank sensor ended up being a bit of a project. As of today, we are about halfway through. The starboard side is working. The port side keeps coming up with either an open circuit or a short. Unfortunately, the error codes are only helpful on a very basic level.

Installation involved running electrical wiring from the main breaker panel to the holding tanks located in either hull. Waponi’s current wiring is a network engineer’s nightmare. 98% of the rat’s nest of conduit, cable, and wire is not labeled. The one saving grace is that there is, in fact, conduit.

Materials:

  1. Two 25′ spools of 18 gauge stranded “zip line”
  2. Fish tape, aka pull string
  3. Solder and soldering gun
  4. electrical wire strippers
  5. electrical tape or tape paint
  6. masking tape
  7. marriage counselor

The process:

  1. Open electrical panel and resist urge to start rewiring the entire boat.
  2. Remove all items from the storage space under the settee on the starboard side.
  3. Determine how the wires get from the electrical panel to the starboard head. (There is a light in there, so the wire has to get there somehow. We think. Maybe.)
  4. Take everything out of master head closet and marvel at all the things I thought I needed upon moving onto Waponi and resist the urge to purge.
  5. Remove master head closet shelving and back access panel. “Oh, so that is how you remove the water tank. Let’s not ever have to remove the fresh water tank.”
  6. Have Caroline crawl into the space under the settee.
  7. Run wire from electrical control panel to the conduit under the settee, through the hole in the bulkhead for existing wire which can be accessed through the master head closet and then up and over the head ceiling following the path for the existing wire we believed went to the lighting for the starboard hull. “Wow, that took exactly one spool of wire.”
  8. Drill access hole for wire above black water tank.
  9. Discover existing wires for lighting for different version of boat. “Well, I suppose if I need a reading light in the head…”

Now we are ready for the temporary installation (we have to make sure it works before making more holes for permanent installation) of the tank meter. The meter is two 12″ strips which have to be connected together because we have a 24″ tank. One strip has one tab removed to mark it as the bottom strip. The second strip has two tabs removed to mark it as the top. The two strips are soldered together. This connection is then connected to the wire we ran to the electrical panel. The wire at the electrical panel is connected to the tank level panel and, “We have a reading! It lives!”

But, wait… we have two hulls. There is more work to be done. The process for the port side head is similar, so I will just highlight a few of the differences:

  1. The port side of the settee is food storage. Pro tip: make sure lid on the Costco container of olive oil is securely closed before moving it.
  2. There isn’t quite as much space on this side of the settee as it the access for the salon heater fan, the water pump and the fridge. The heater fan also means the lines for the heater full of hot liquid are running through this space.
  3. All three of took a turn in the hole for this one.
  4. The run for this one went from the electrical panel into the conduit under the settee across the salon. From there it went through conduit under the stairs then behind the oven (did I forget to mention we had to take the oven out?) and through the bulkhead into the head.
  5. 25′ of wire was not enough. More wire was purchased and soldering in the settee hole was necessary.
  6. Oven was put back in place. “Ryan, what is this board here for?” Ryan’s response, “That goes under the oven.” *head, desk*

We get everything taped together, soldered and plugged in. “It doesn’t work!” We get an error code on the panel indicating either a short or an open circuit. We replace the wire with a different gauge and a continuous length. We still get the same error codes.

Now we get to call tech support and see if there is a solution. In the meantime, the starboard side is functioning. We know it can work; we just have to get the other side to cooperate.

Oh, we also labeled all the wires and left pull string in the conduit. If you are going to do a project like this please make it easier for the next guy because the next guy is going to be you.

I am short. 4’11 ½” (That last ½” is really important.) India outgrew me a year or two ago. Aside from Rover, this makes me the smallest person on the boat.

The hinges broke on our toilet seat cover. The price for a replacement specific to our head: $64.99.

The price for a toilet seat at the big box hardware store from which we can harvest the new hinges: $6.45.

The lesson learned here: Before resigning yourself to purchasing the highly inflated name brand replacement part, make sure you check a regular hardware store. A little creativity can save you quite a bit of money.

On that note, does anyone need a brand new toilet seat cover without the hinges?

Ryan and I took a little dinghy excursion on Sunday. A new catamaran moved in a few docks away from us so we had to check it out. There was a break in the rain. Upon our return Ryan had India hop in the dinghy for a little maintenance. Yes, she is still in her pajamas.

My dinghy in her dinghy.
Caroline driving the dinghy into the waterway. Note the rainbow over her shoulder.

Today we traveled to Quartermaster Harbor. We included myself, Ryan, India and, our borrowed child, India’s friend, Keely. The sky was blue with no expectation of wind as we made our way under the bridge. Once we cleared the waterway, we were met with a steady 6knot breeze.

Pro-tip: After taking down your Christmas lights and placing the main halyard back on the main, make sure it isn’t twisted around the lazy-jacks. This will inevitably result in a ripped sail bag. It becomes really difficult to tell if something is wrapped around a pulley when it is 50 feet in the air.

After the aforementioned snafu, we sailed across Commencement Bay at a slow but steady 3knots. When we reached the mouth of the harbor, we lowered the sails, started the engines and motored in.

We took advantage of the calm water to practice anchoring. The girls made lunch while Ryan and I honed our anchoring skills. Keely and India are expert sandwich makers.

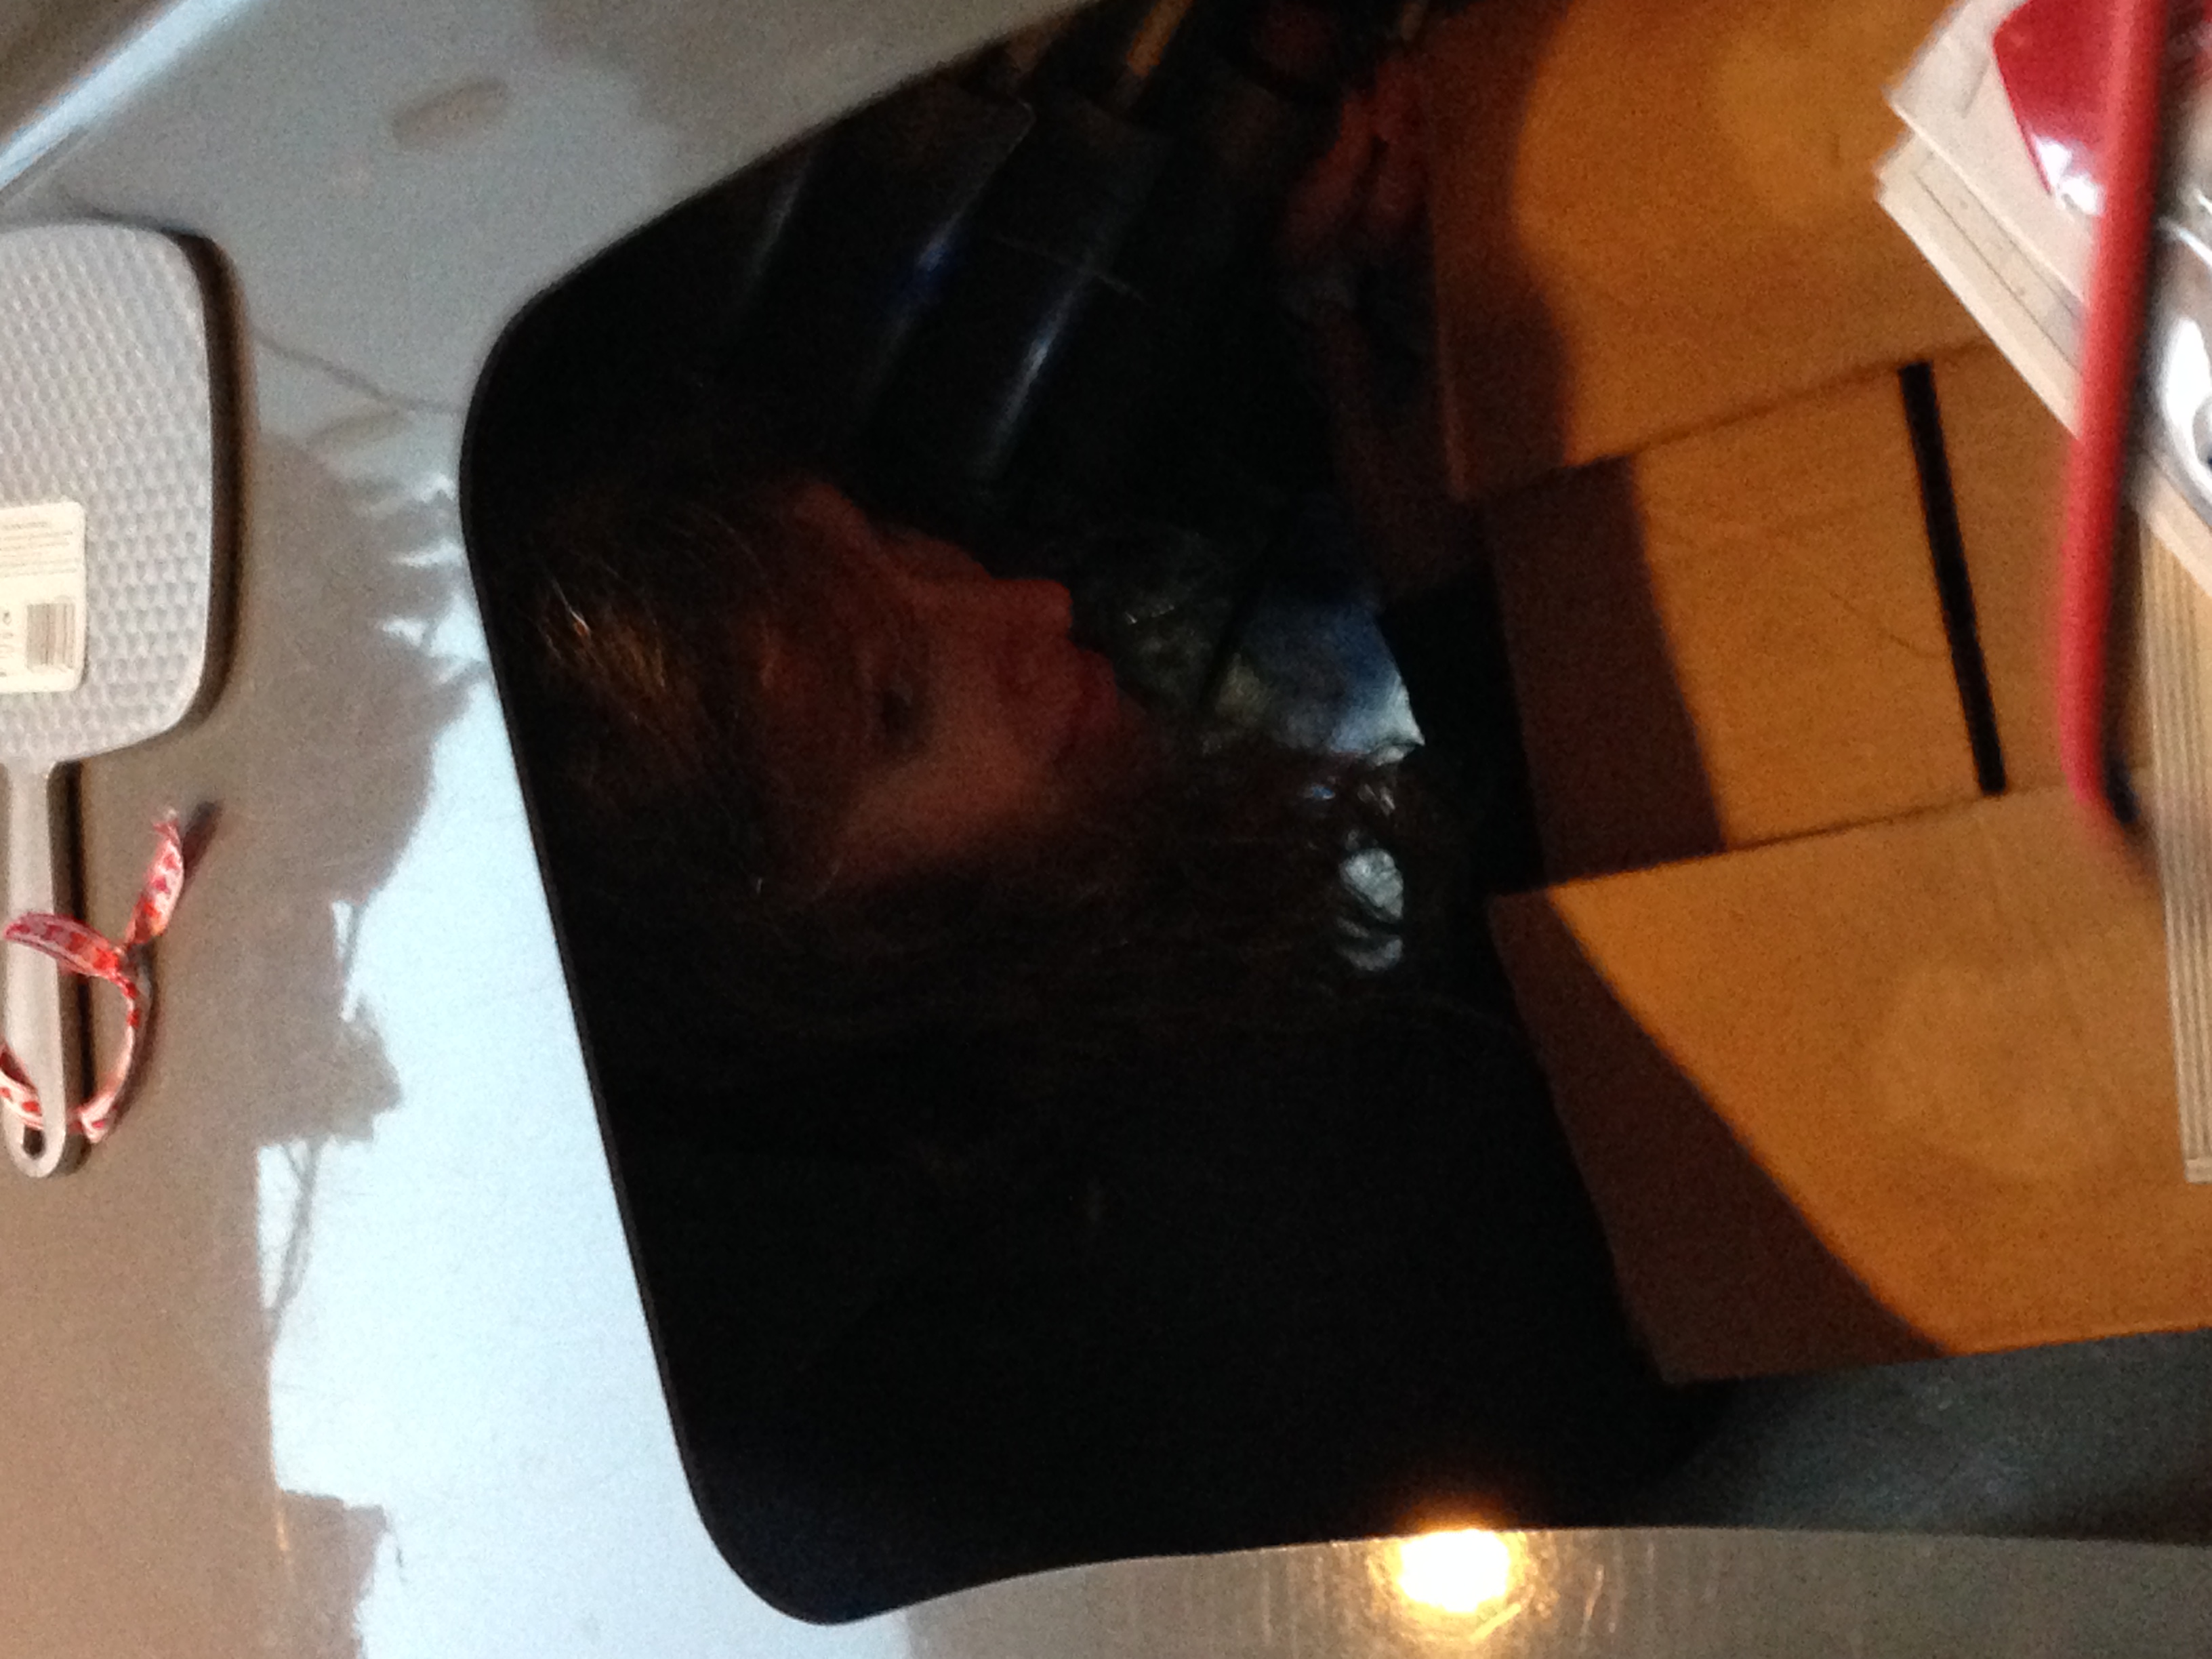
After lunch we pulled out the boatswain’s chair and, after explaining its purpose to the girls, set up the lines for me to go up the mast. My brief flirtation with rock climbing in college did not quite prepare me for this experience.

A climbing harness, such as commonly used for rock climbing, is fitted and very secure. It looks around your waist and thighs and, if properly fitted, is quite comfortable in a resting position. A boatswain’s chair is more like a swing. Envision a padded plank with webbing on either side, which meets in the middle. Where the webbing meets there is a metal ring. You hook up the main halyard to the metal ring and are lifted aloft by raising the main halyard.

As my feet left the deck, I was met with supportive comments from below telling me, “Mom, it is just like the swings at the fair!,” and, “Just lean back and relax!” I became intimately familiar with the mast, spreaders and shrouds as I clutched them for deal life all the way up. Which brings me to the next point. The shrouds end several feet below the top of our mast. Those last few feet to the top involve truly swinging free. I did not make it to the top this time. I admit it. I chickened out. As I was lowered down, the peanut gallery was certain to let me know they were going to make it to the top.

Girl 1 did not make it to the first spreaders. Girl 2 almost made it to the bottom of the second spreaders. Mom wins.

There was zero wind as we returned to the marina. It really was quite a lovely day.

The past two months have gone by in a blur. This is due in no large part to my brief employment in corporate America. It seemed like a good idea at the time.

This week I resigned as I was finally hired on by the Tacoma School District. Being a substitute teacher will fit in much better with our plans over the next few months. A change in Ryan’s employment has presented the opportunity to move south on an accelerated timeline.

What else has happened since the last post?

We had our first Christmas aboard Waponi Woo. I insisted on the purchase of a small artificial tree for the salon and lights for the mast. Although our boat was the first to hoist up a string of lights, we were quickly outdone by other boats in the marina. One strand of lights simply isn’t enough. Not to worry, I purchased a large quantity of LED lights on post-holiday clearance. Next year our Christmas light display will be much improved.

Unfortunately, I came down with the December crud the week before Christmas, so I wasn’t able to fully partake of the holiday spirit. Last minute shopping and baking was supplanted with a trip to the doctor and sleep.

My Christmas presents included a dimmable LED reading light to replace the halogen light above my berth. We are planning on replacing all of the halogen berth lights with these. Ryan is quickly replacing all of the cabin lights with LED lighting. IKEA has been invaluable in this endeavor. They have nice LED fixtures, which are far more reasonably priced than anything we found at West Marine.

A solid week of illness resulted in a quick trip down the waterway for a mid-cycle pump-out. We discovered the pump-out facilities on our side of the bridge at the marina east of us are really quite nice. For $5 you can pull up to any dock and they will pump you out. Under the circumstances this was a much better option than raising the bridge.

The poo struggle is real.

An order was placed yesterday for a 709 SeeLeveL II™ Tank Monitor System for our black water holding tanks. These are designed for RVs. It will monitor both black water tanks. We had to purchase an additional sensor to get the depth required for our holding tanks. The stock sensors are 12” and our tanks are 24.” I am looking forward to getting rid of poo panic.

Fresh water

Ryan mastered the fresh water system and got the continuous water feed from the dock working.  City water pressure is a luxury I had no idea I was missing. We’ll be upgrading the fresh water pump in the Waponi when we get a chance.